Freezer paper stencils are an awesome way to create unique clothes for your kids or yourself. And rest assured, although it looks completed it’s actually quite easy. Follow these simple 8 steps and you’ll soon be creating your own:
Materials Needed
- Blank T-shirt
- Printed Stencil
- Masking Tape
- Lead Pencil
- Reynolds Freezer Paper
- Xacto Knife
- Iron
- Fabric / Clothing
- Fabric Paint
- Foam Brush
- Bowl
- Piece of heavy card (expand)
- Hairdryer (optional)
- Select Your Image.
We have a wide range of freezer paper stencils to choose from or alternatively choose your own.
When selecting or creating your own, keep in mind that you want to avoid anything too intricate, or with very fine lines as these are much harder to work with.
- Print It Out

Print out your image at the size you want to use it.
- Trace It
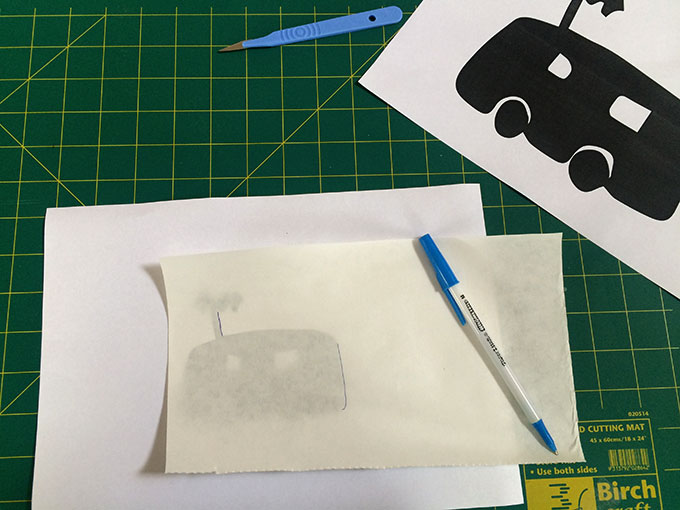
Cut a piece of your Reynolds Freezer Paper to fit your stencil. Lay the freezer paper shiny side down on top of your image and tape it in place. Trace the image outline onto the freezer paper.
- Cut It Out
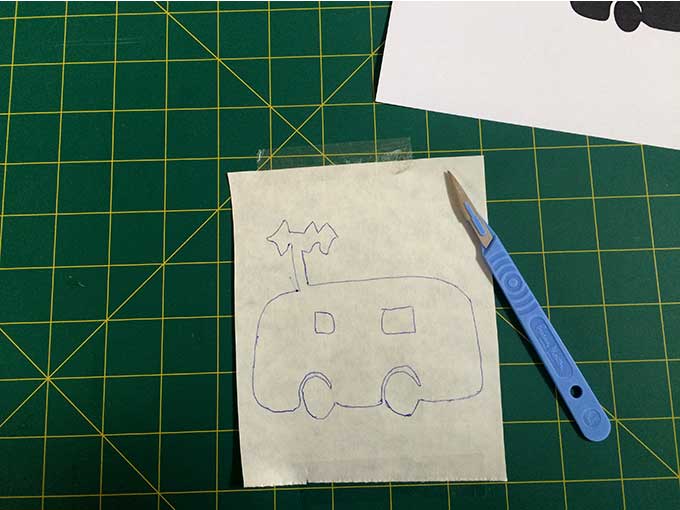
Use your exacto knife to carefully cut out your image. Remember that the stencil is like a negative and that the painting will be on the pieces cut out. If there are any pieces such as the inside of a letter keep these to add in the ironing stage. Voila, you now have a stencil.
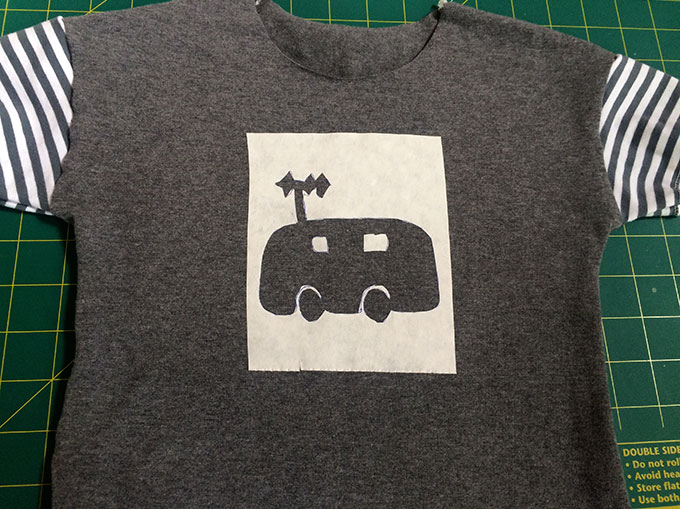
- Iron Your Stencil Onto the Fabric

This step is magic. Turn your iron’s heat settings to medium and turn off any steam settings. Position your stencil, again shiny side down, onto the fabric and gently iron into place. Test to ensure that the stencil has now stuck to the fabric. This step is imperative as it ensures that the paint doesn’t bleed under the stencil.
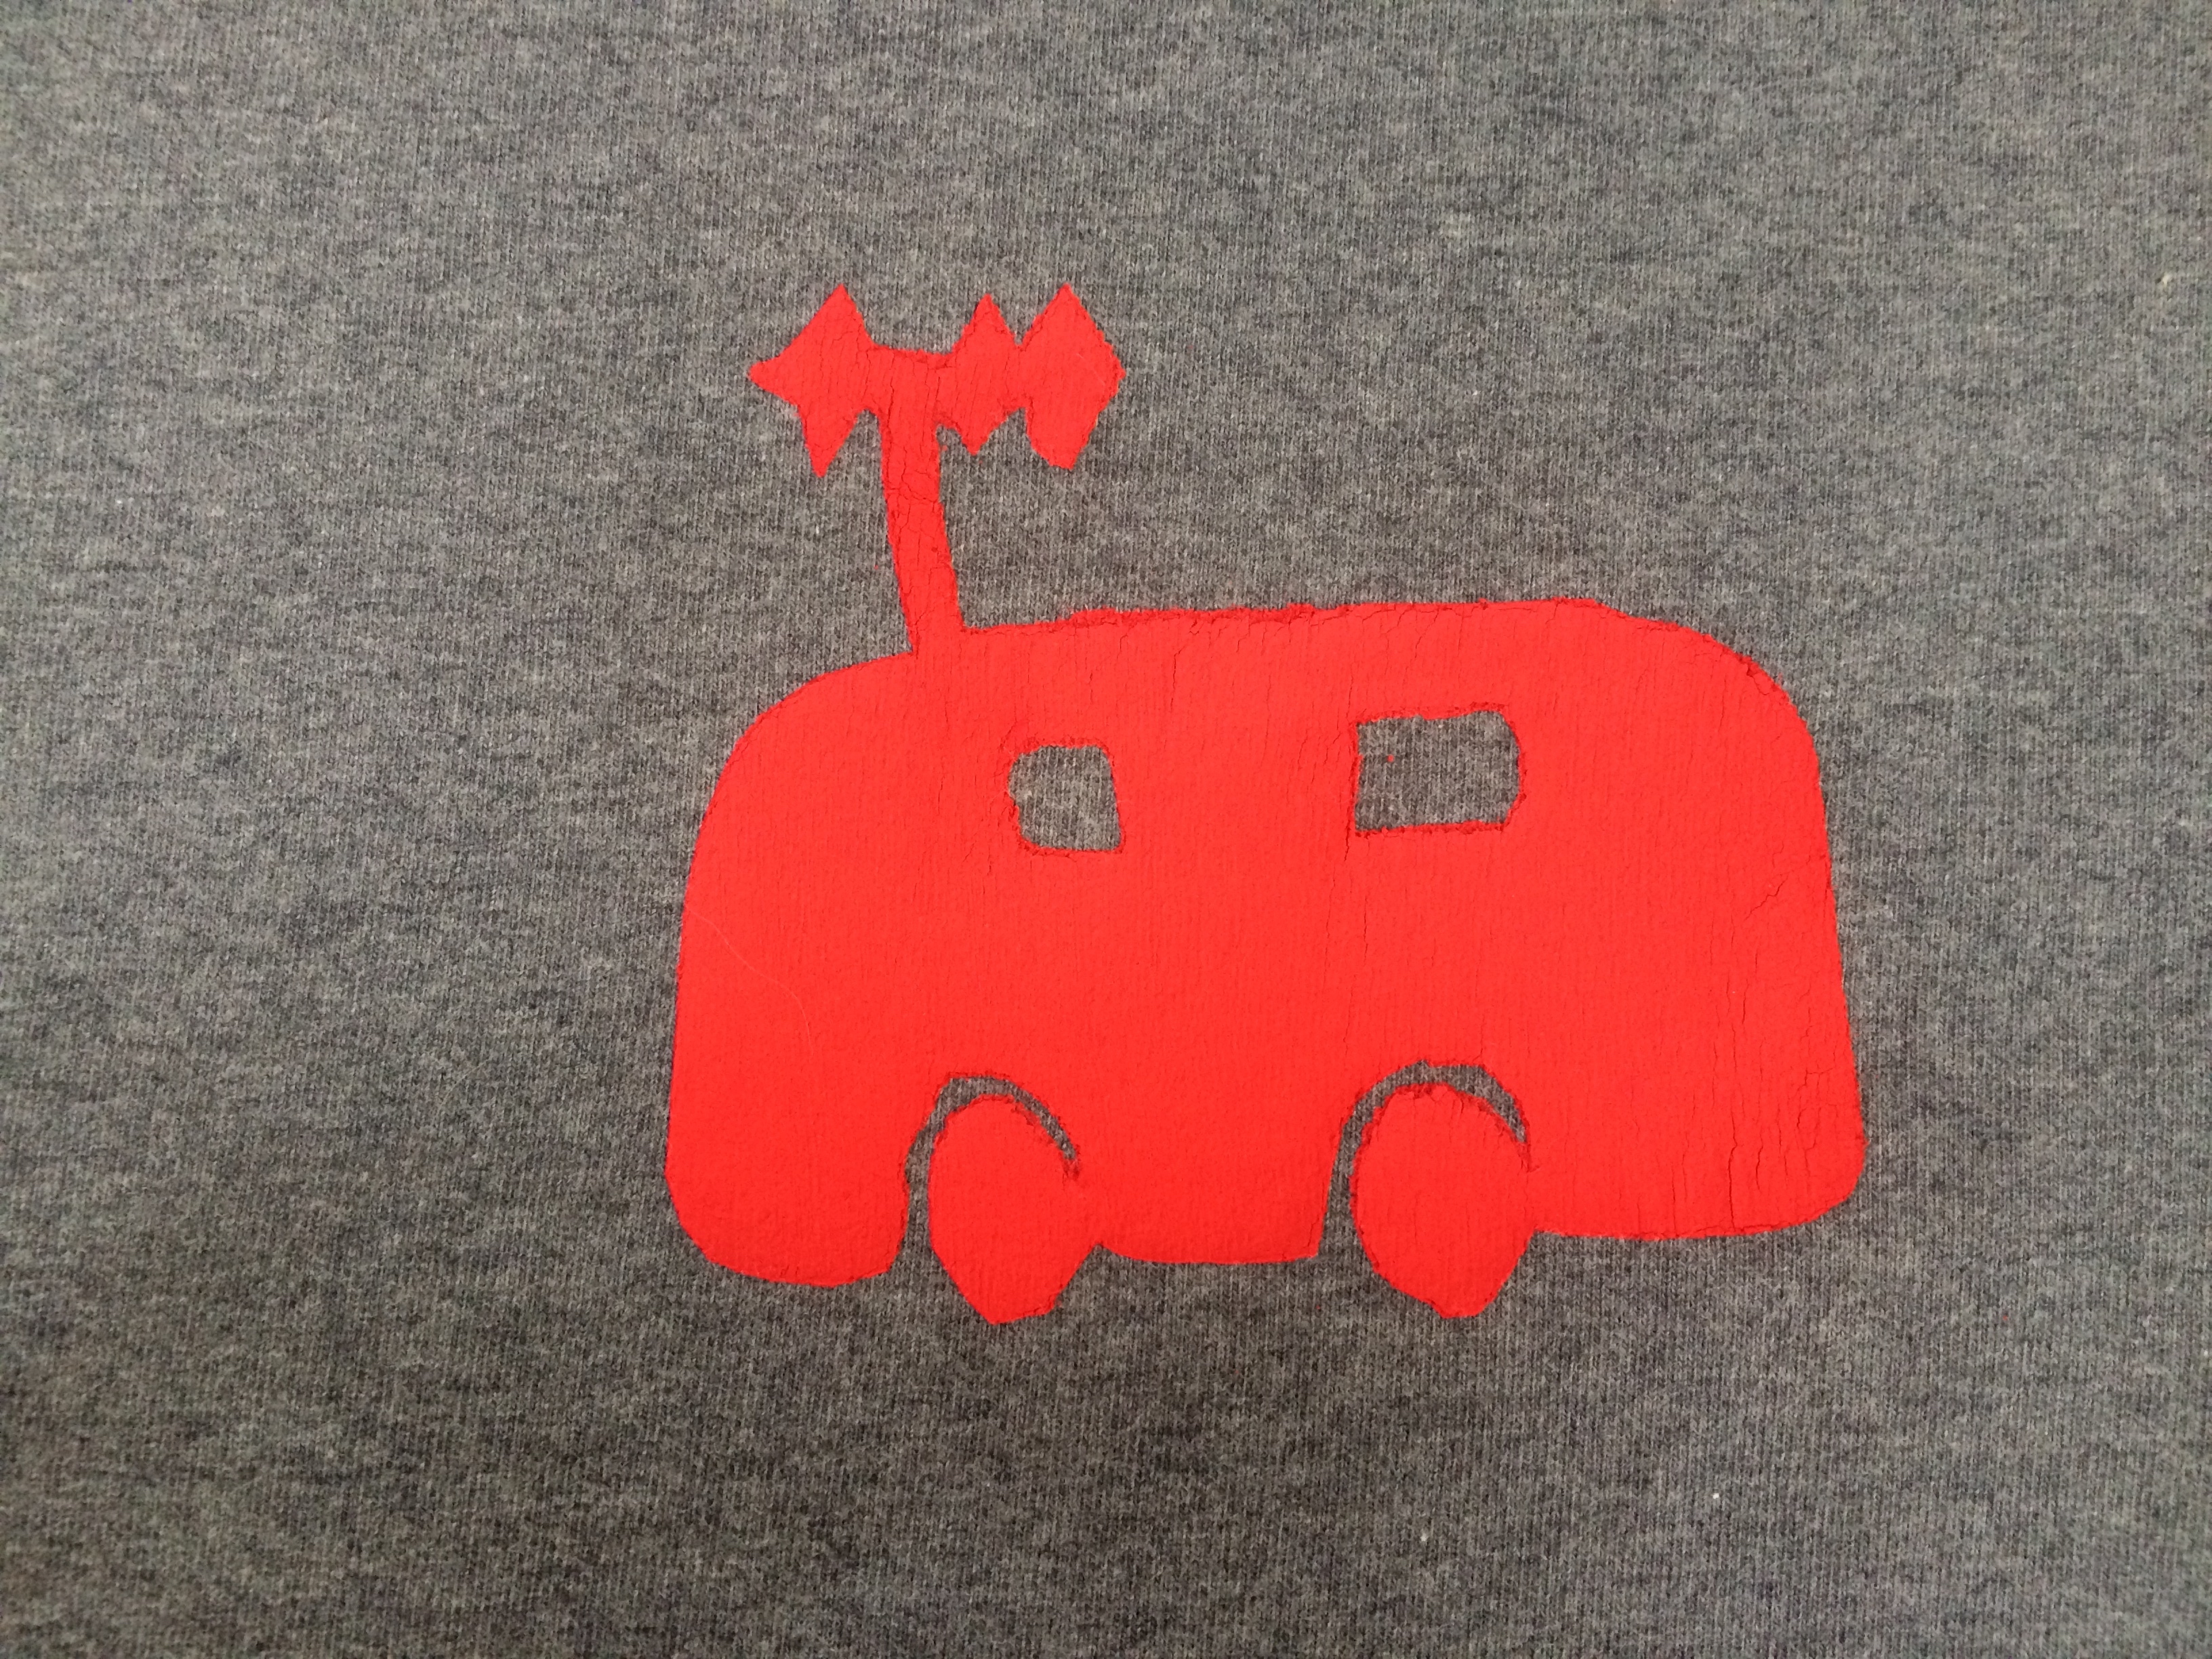
- Let The Painting Begin
Select or mix the fabric paint colours to get your colour. I’m currently loving both Paebo Setacolour and Jacquard Neopaque fabric paints and particularly love mixing solid colours with shimmers for a unique effect.
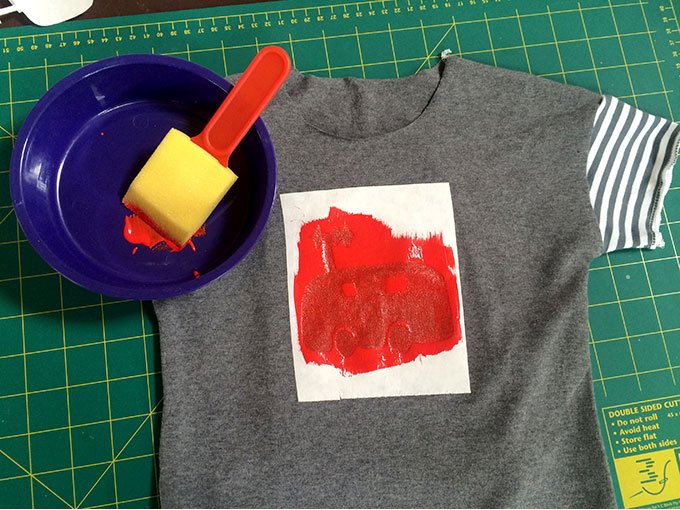
Now its time to paint over the stencil being careful to use even brushstrokes. (I recommend foam brushes as I find they distribute the paint more uniformly.) Once the area is covered either wait for it to dry or use a hairdryer to speed up the process. Repeat with as many layers of paint as you’d like. Typically I find 2-3 coats works best.
- Peel Away The Freezer Paper
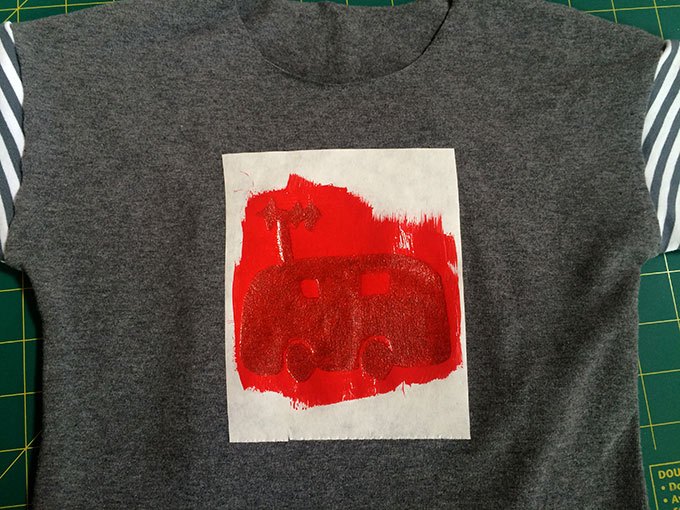
Once the paint is completely dry carefully peel away the freezer paper.
- Set The Paint
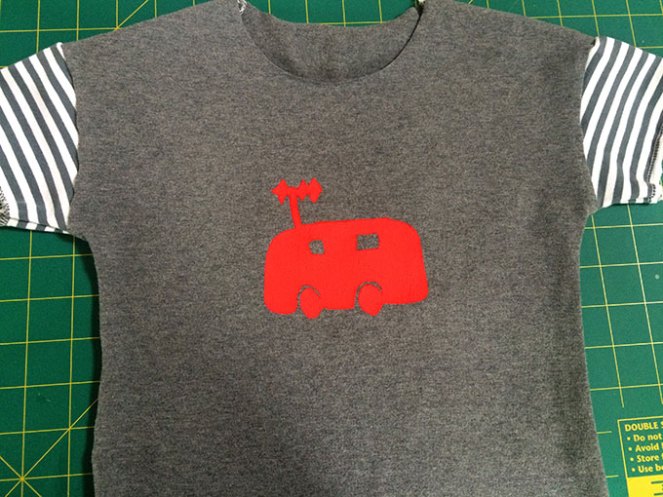
Finally you need to iron over the paint to completely set it. I always cover the paint with a cloth and again use a medium heat with no steam. I using iron over each area for about 30 seconds but do check your fabric paint instructions to be sure.
And there you have it. You’ve just created a unique stenciled piece of clothing.